Windows 10 Mail (POP3 & SMTP over SSL)
To configure Windows 10 Mail to receive and send email on our servers using POP3 and SMTP over SSL, you can follow the steps below. In this manual, we are using example domain name and email address, so please make sure to replace:
 | username@example.com with your email address your_server.com with your server's host name (you can find your server's host name listed in the upper right corner of your Control Panel) |
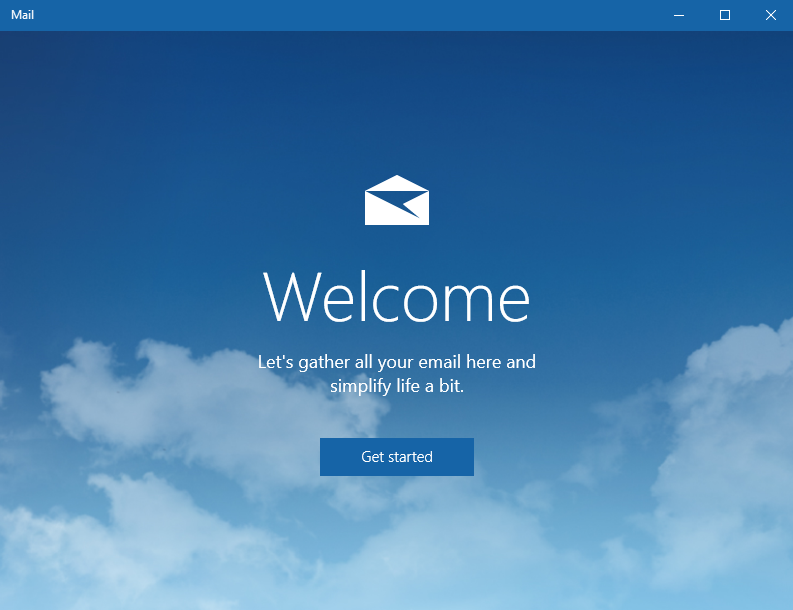
1. Open the Mail program on your Windows 10 device. If you are opening it for the first time, you will get a Welcome screen. Tap/click Get started.
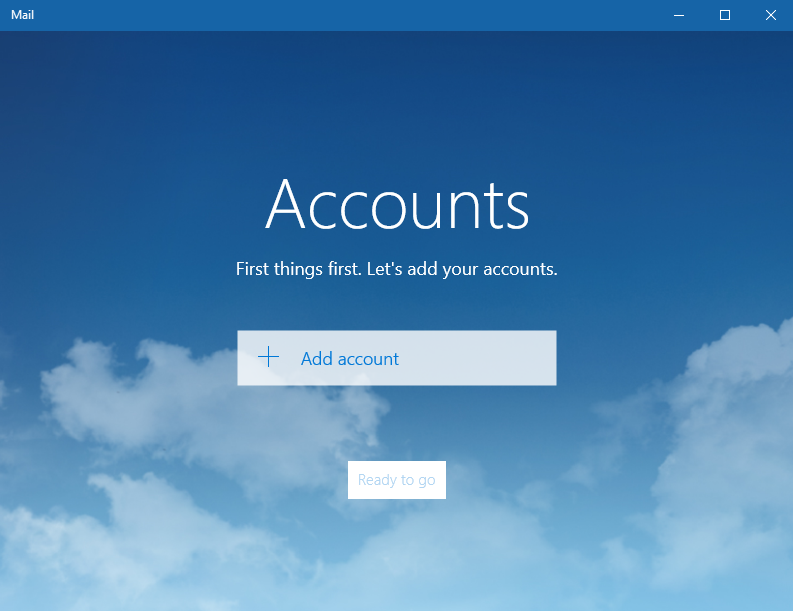
2. Tap/click Add Account on the Accounts screen.
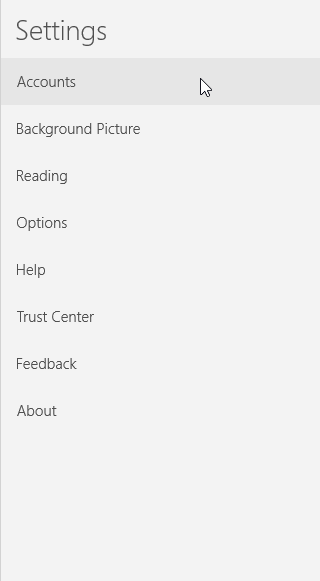
2.1. In case you already have some existing account(s) in your Mail program, locate the Settings icon, and tap/click it.

2.2. On the Settings screen, tap/click Accounts.
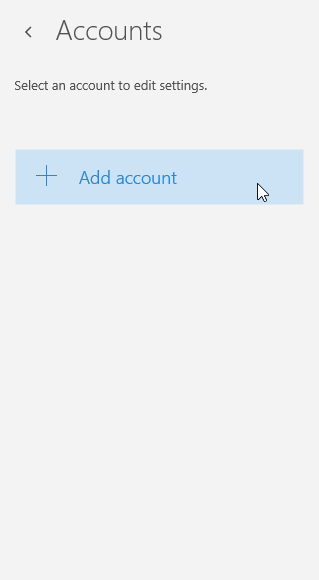
2.3. Tap/click Add Account.
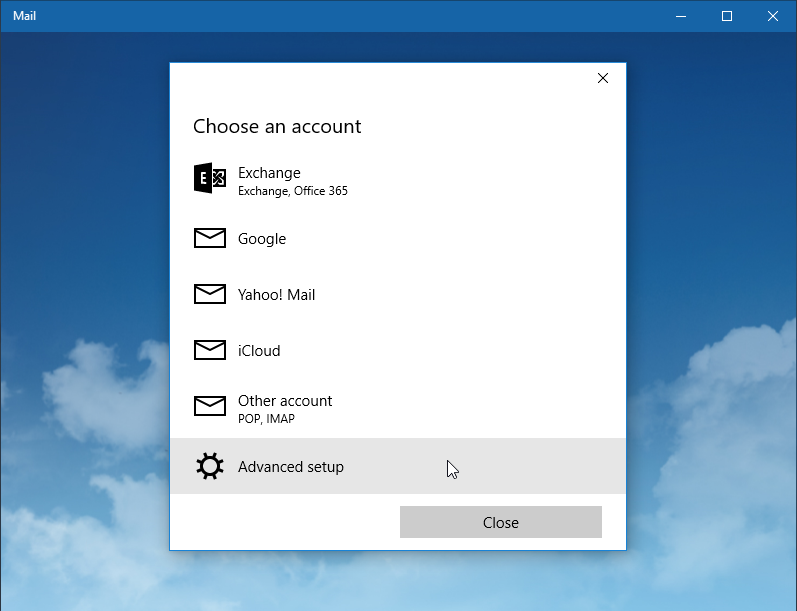
3. On the Choose an account screen, scroll all the way down, and tap/click Advanced setup.
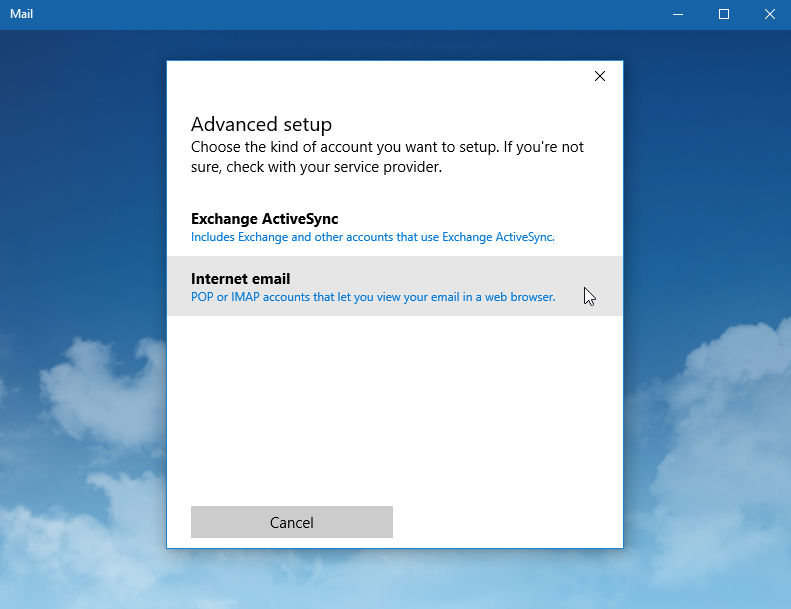
4. On the Advanced setup screen, tap/click the Internet email option.
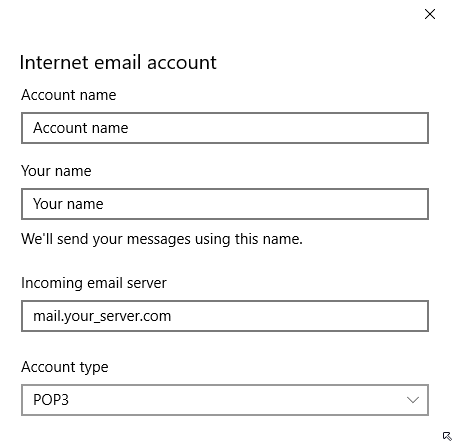
5. On the Intenet email account screen, fill out the following information:
In the Account name field, you should enter a name for the account, to distinguish it from other email accounts in your Mail program.
In the Your name field, you should enter the name that would appear on the messages you send.
For Incoming email server, use mail.your_server.com (replace your_server.com with your server name).
For Account type, select POP3.
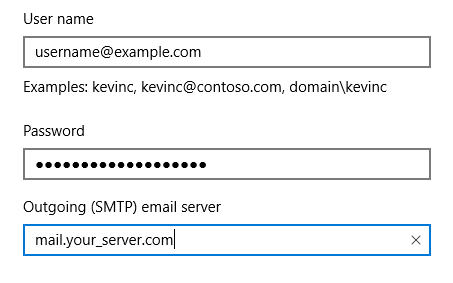
Enter username@example.com in the User namefield (replace username@example.com with your actual email address).
In the Password field, you need to enter the current password for this particular mailbox.
For Outgoing (SMTP) email server, use mail.your_server.com (replace your_server.com with your server name).
Make sure the following options are selected:
- Outgoing server requires authentication.
- Use the same user name and password for sending email.
- Require SSL for incoming email.
- Require SSL for outgoing email.
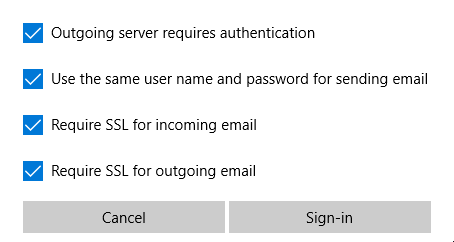
6. Tap/click Sign-in.
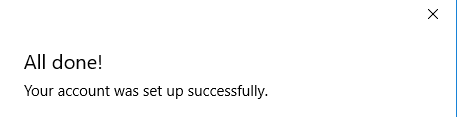
7. Upon successful creation, you will get the Your account was set up successfully message.
| You may miss some e-mail messages if you use POP3 to access a mailbox that has SpamAssassin enabled for it. Please read our Possible issues when using POP3 and SpamAssassin article for more information. |