Microsoft Outlook for macOS (POP3 & SMTP over SSL)
To configure your Microsoft Outlook application on macOS to send and receive email using our servers via POP3 and SMTP over SSL/TLS, follow the steps below.
Before You Start:
- Email Address: Replace
username@example.comwith your actual email address. - Server Host: Replace
mail.your-server.comwith your server's host name (listed in your Control Panel). For example, if your server is s777.sureserver.com, your Server Host would be mail.s777.sureserver.com.
1. Open Microsoft Outlook
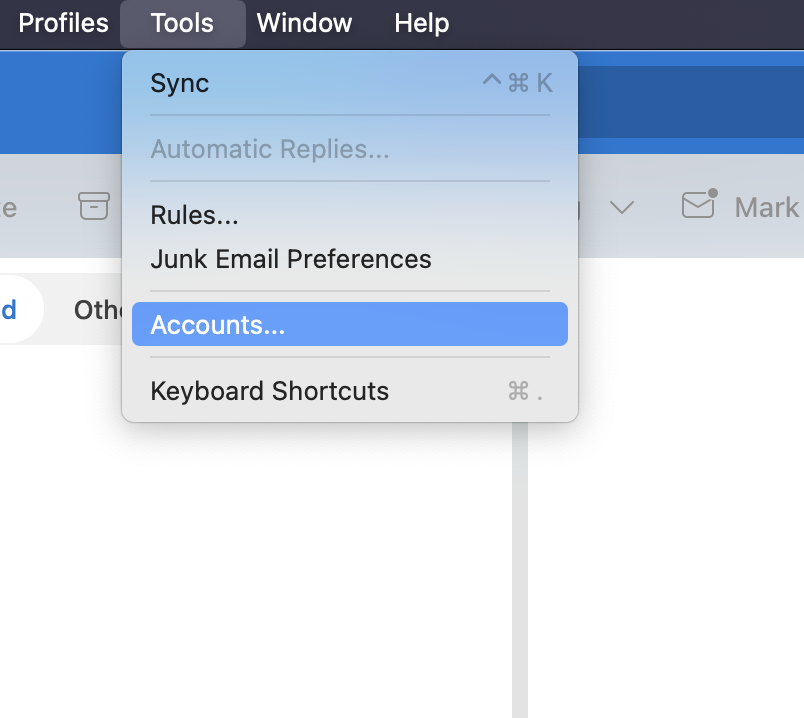
- If you don't have any accounts set up already, you will be taken to the new account screen by default. Otherwise, select Tools > Accounts from the menu bar.
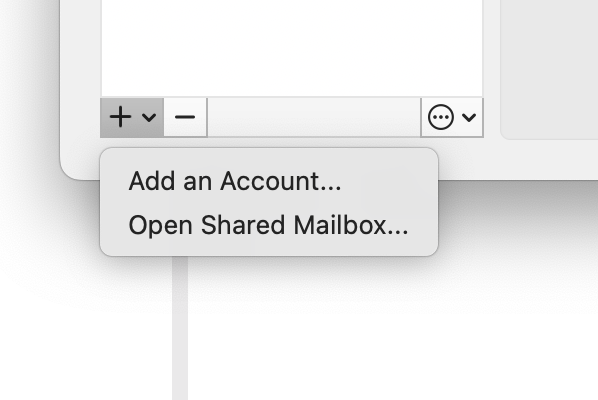
- Click on the + button at the bottom left of the page > Add Account.
2. Create the account
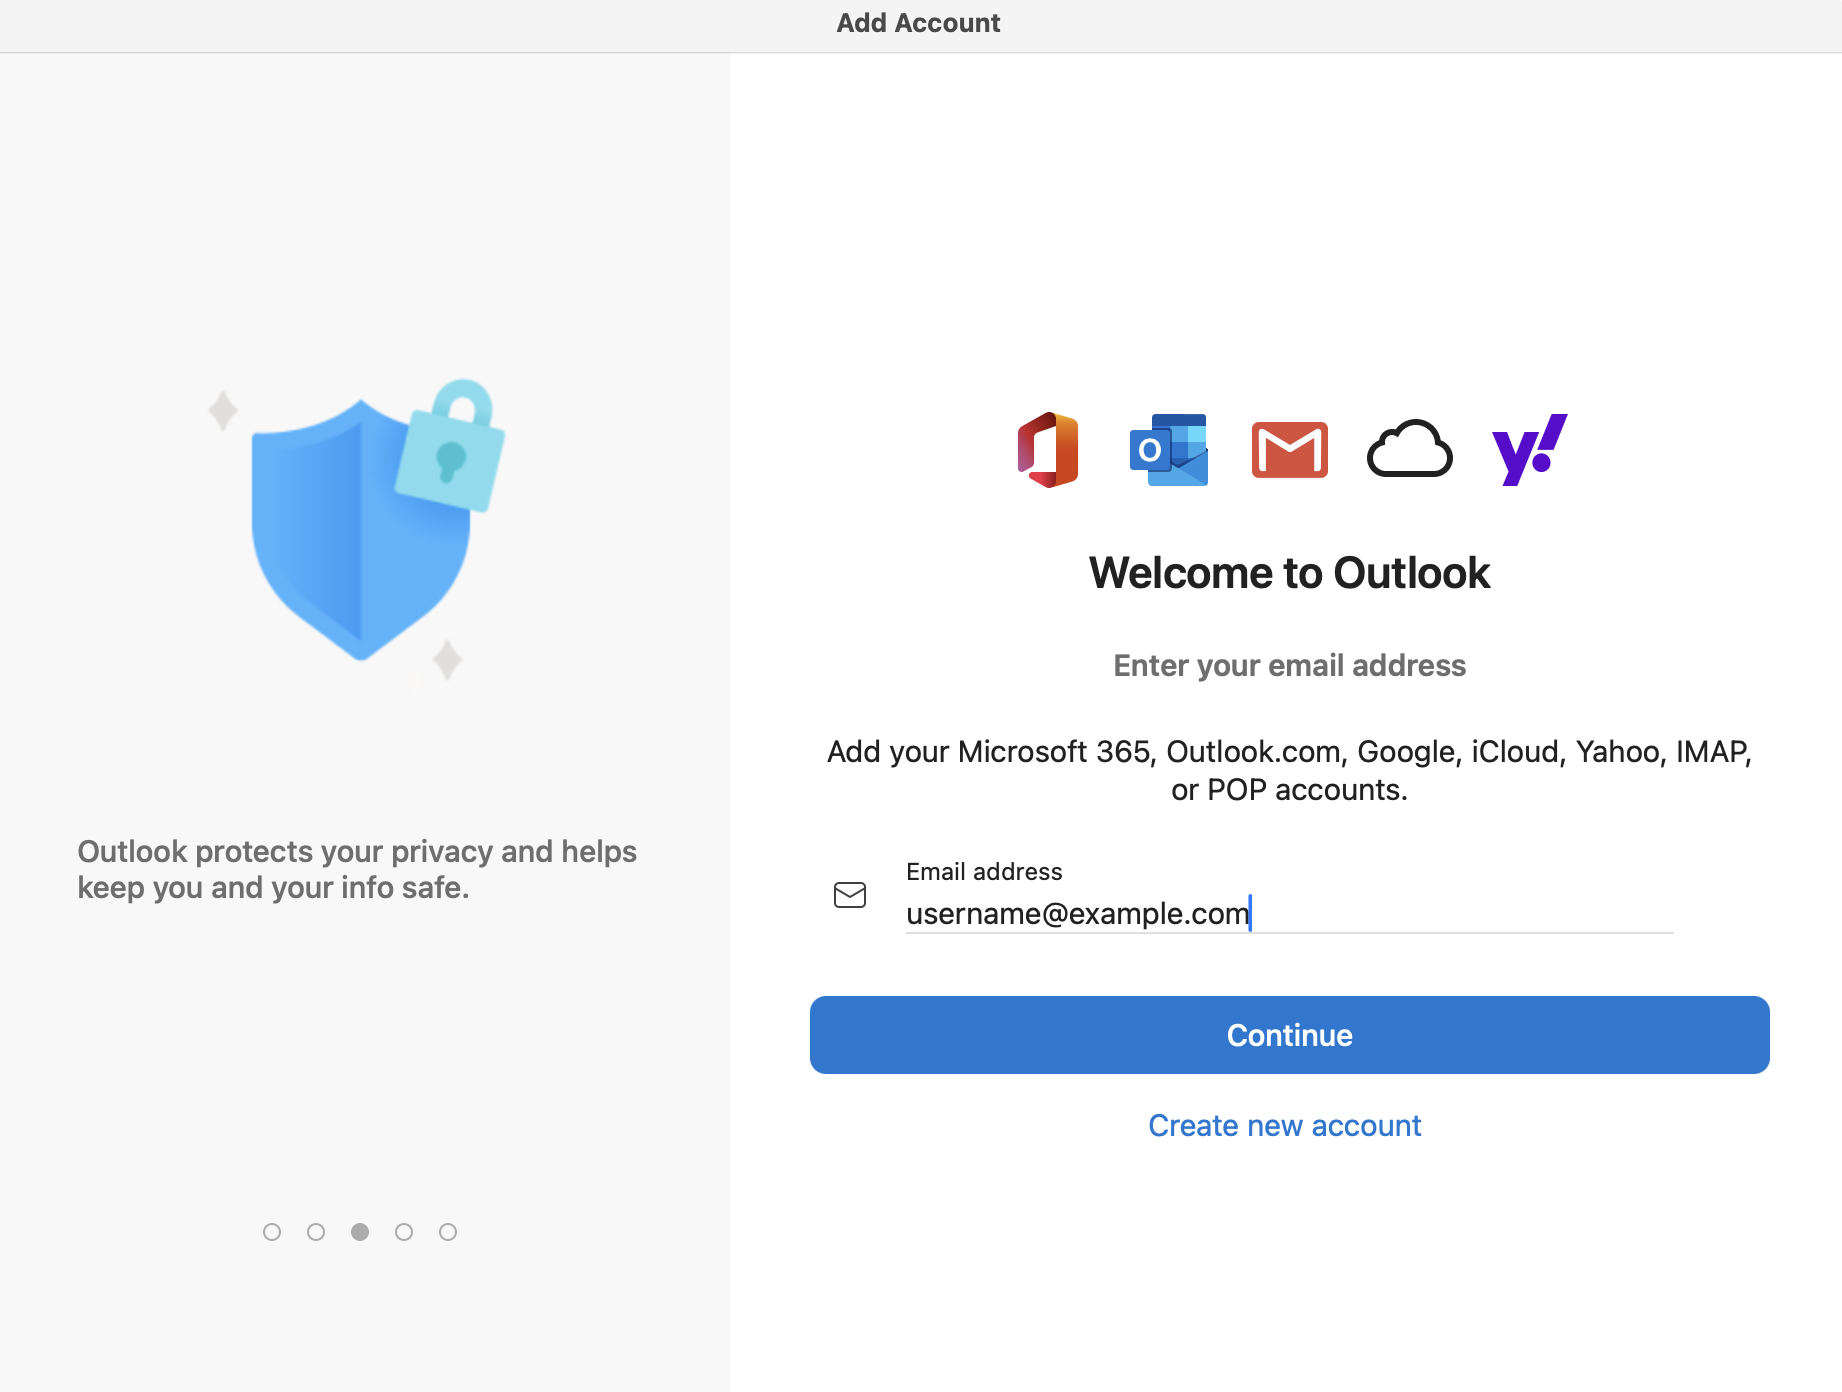
- Enter your email address and click Continue.
- Click Not IMAP? in the upper-right corner of the next screen:
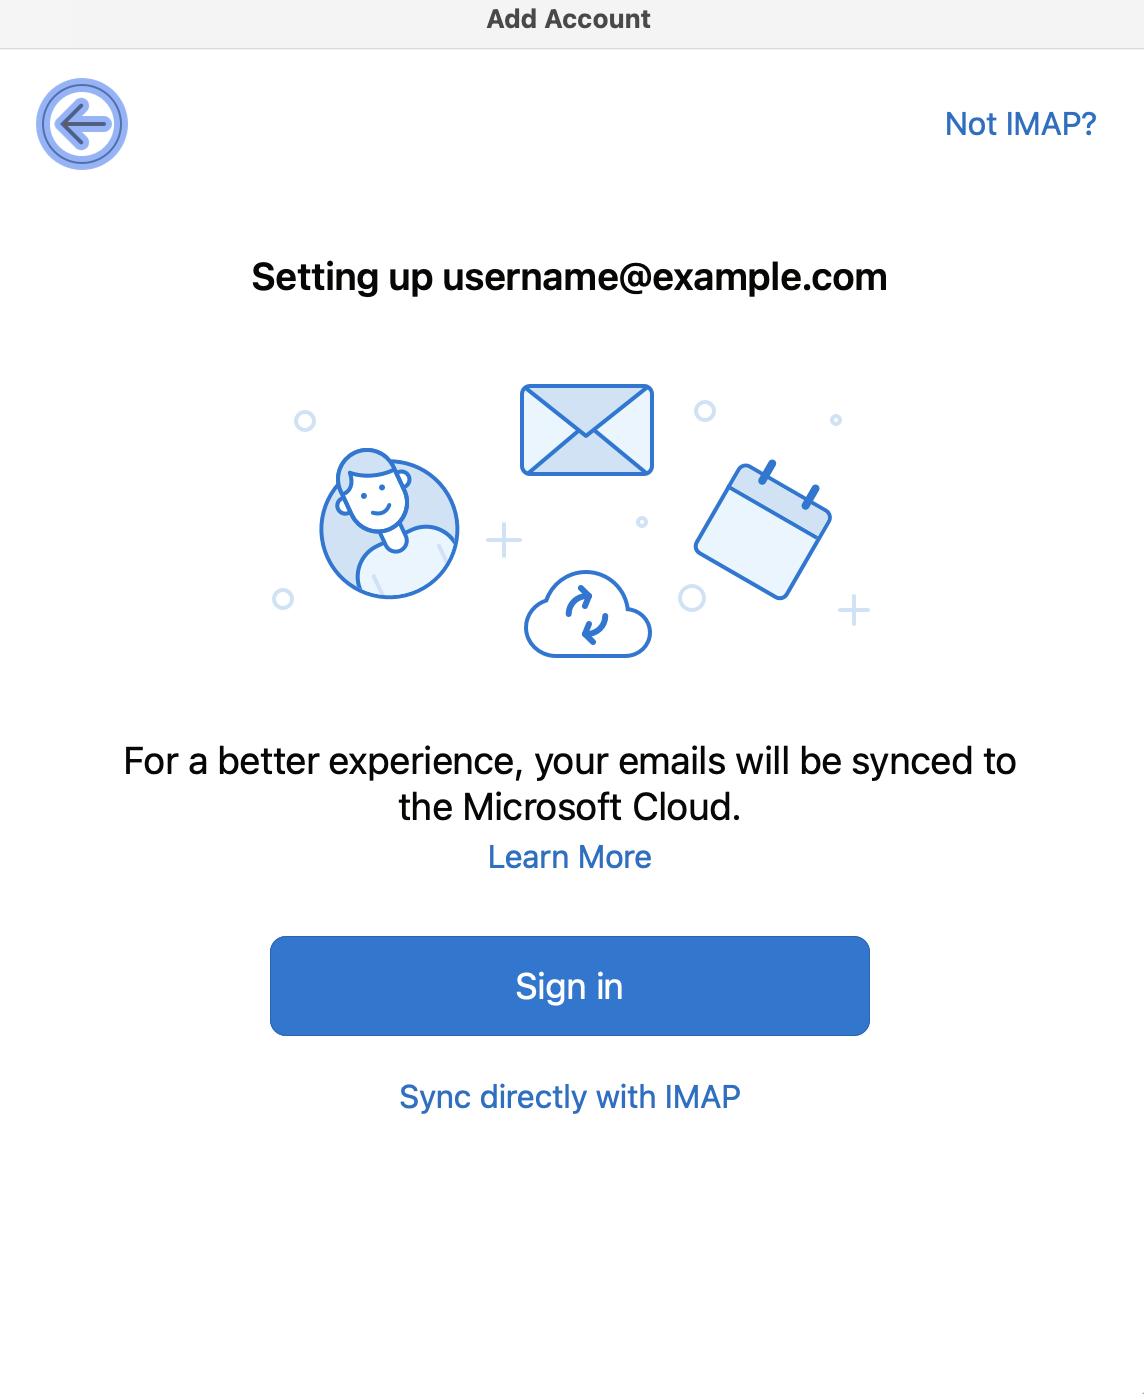
- Choose POP at the next screen:
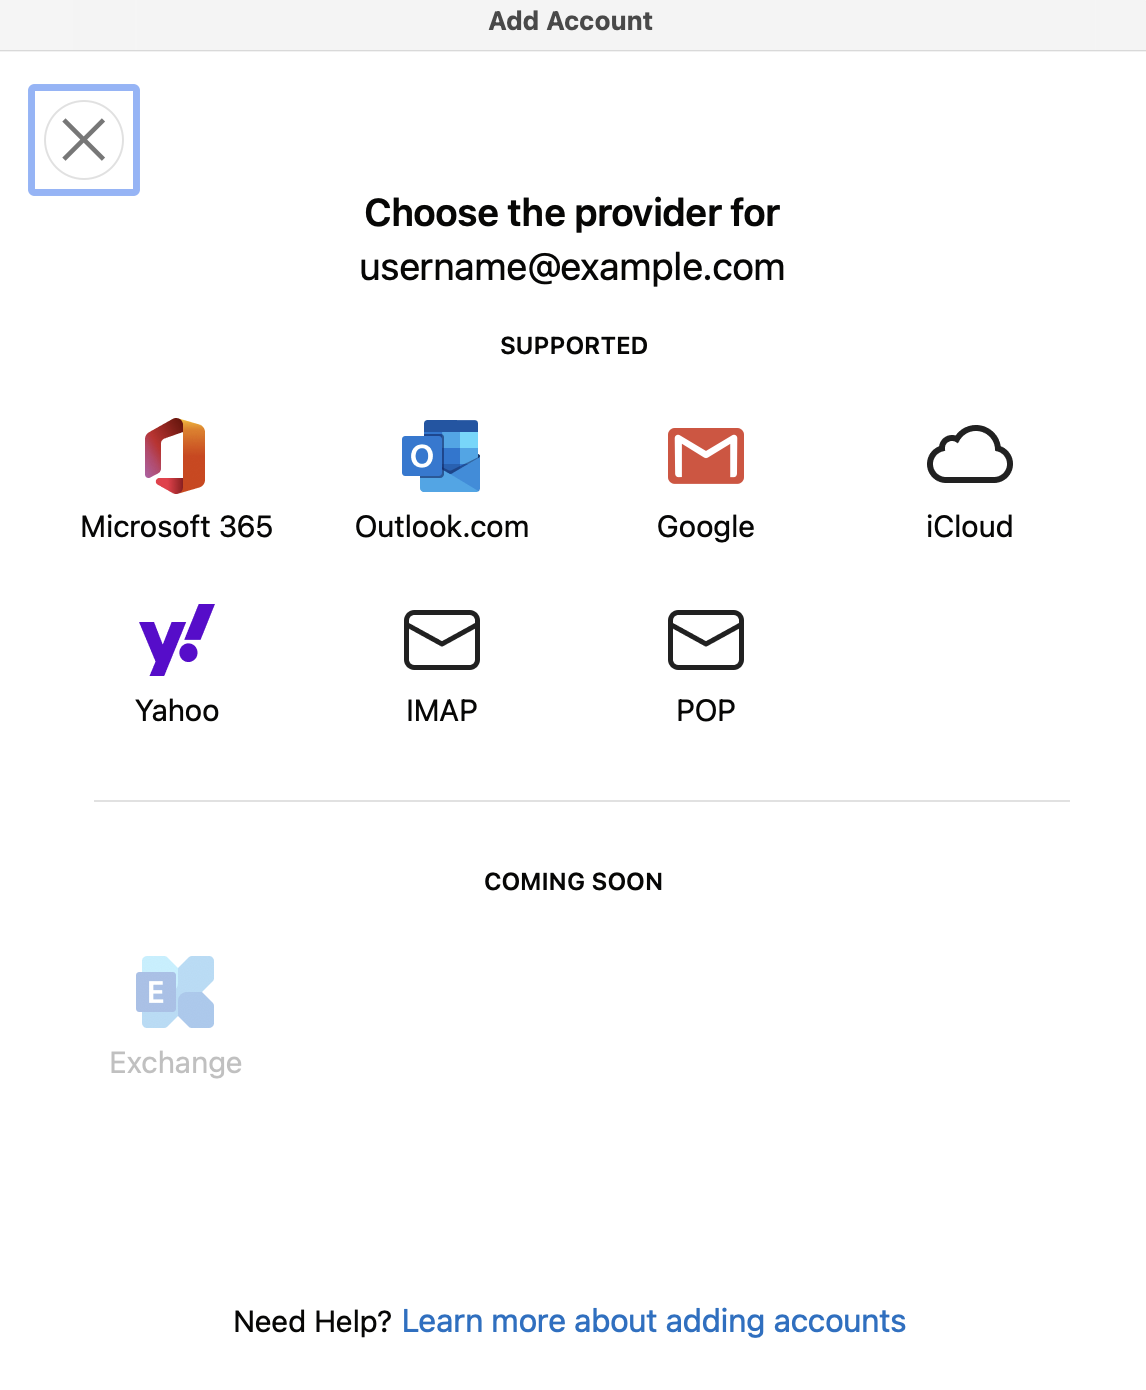
3. Configure the Account
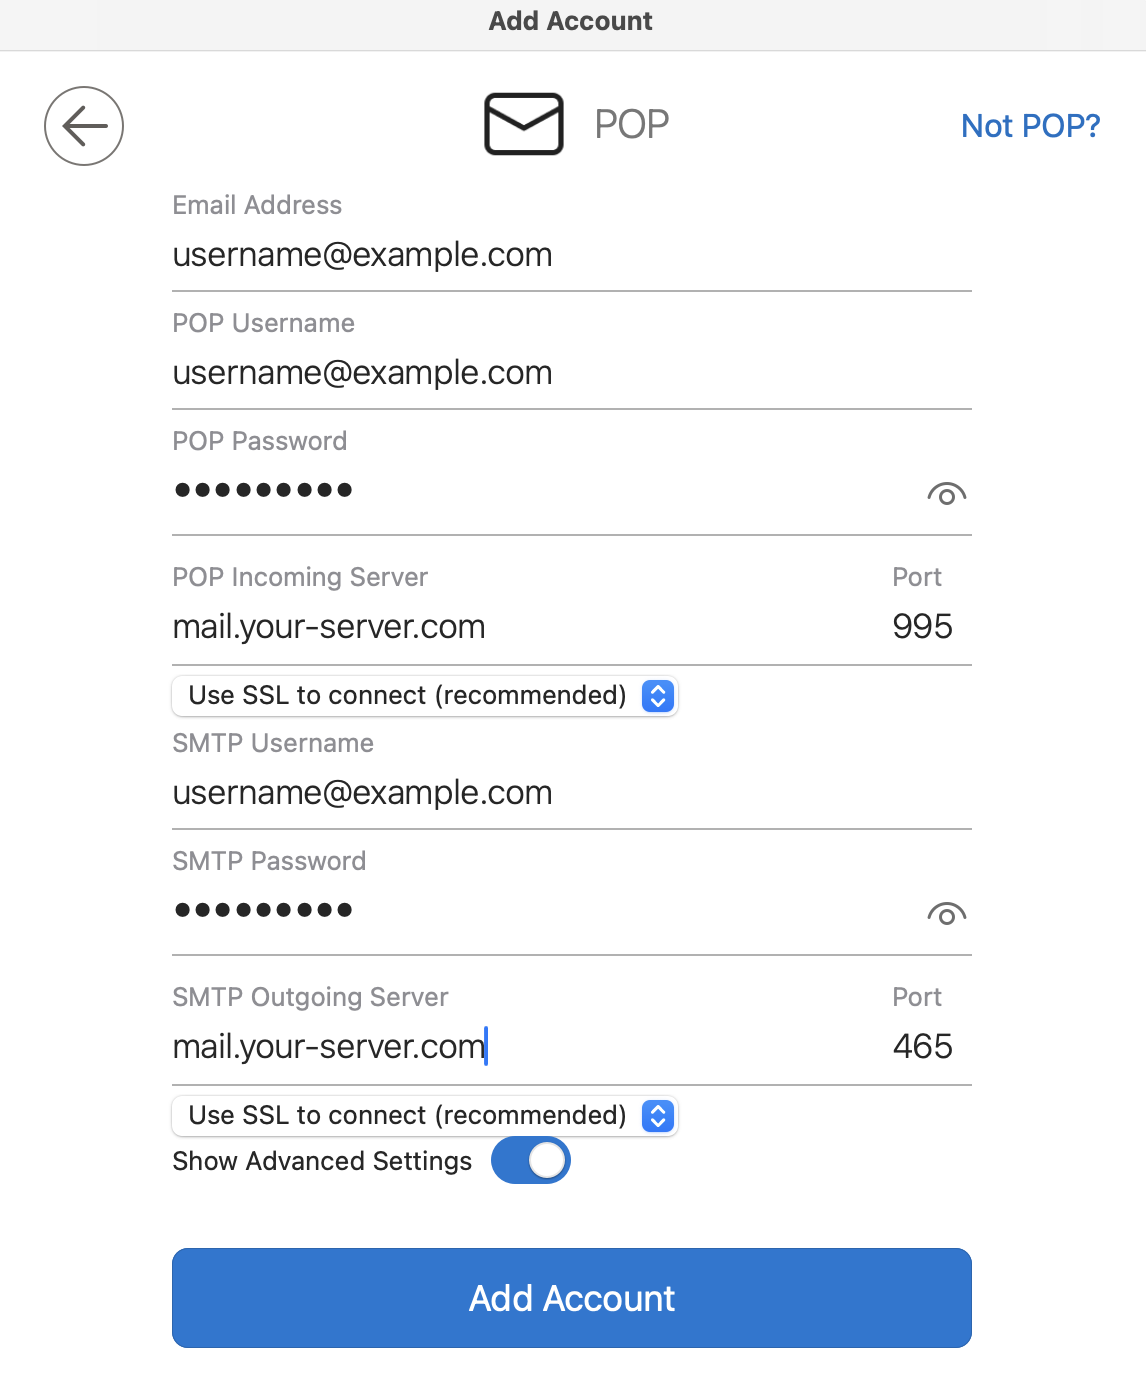
On the next screen, click Advanced Settings and fill in the following details:
Email Address: (will be prefilled)
- POP Username:
username@example.com(replace with your actual address) - POP Password: your password
- POP Incoming Server:
mail.your-server.com(replace with your server name) - POP Port: 995
- Use SSL to connect: (recommended)
- SMTP Username:
username@example.com(replace with your actual address) - SMTP Password: your password
- SMTP Outgoing Server:
mail.your-server.com(replace with your server name) - SMTP Port: 465
- Use SSL to connect: (recommended)
4. Finish.
Once all steps have been completed successfully, you should get the "POP account has been added" confirmation.
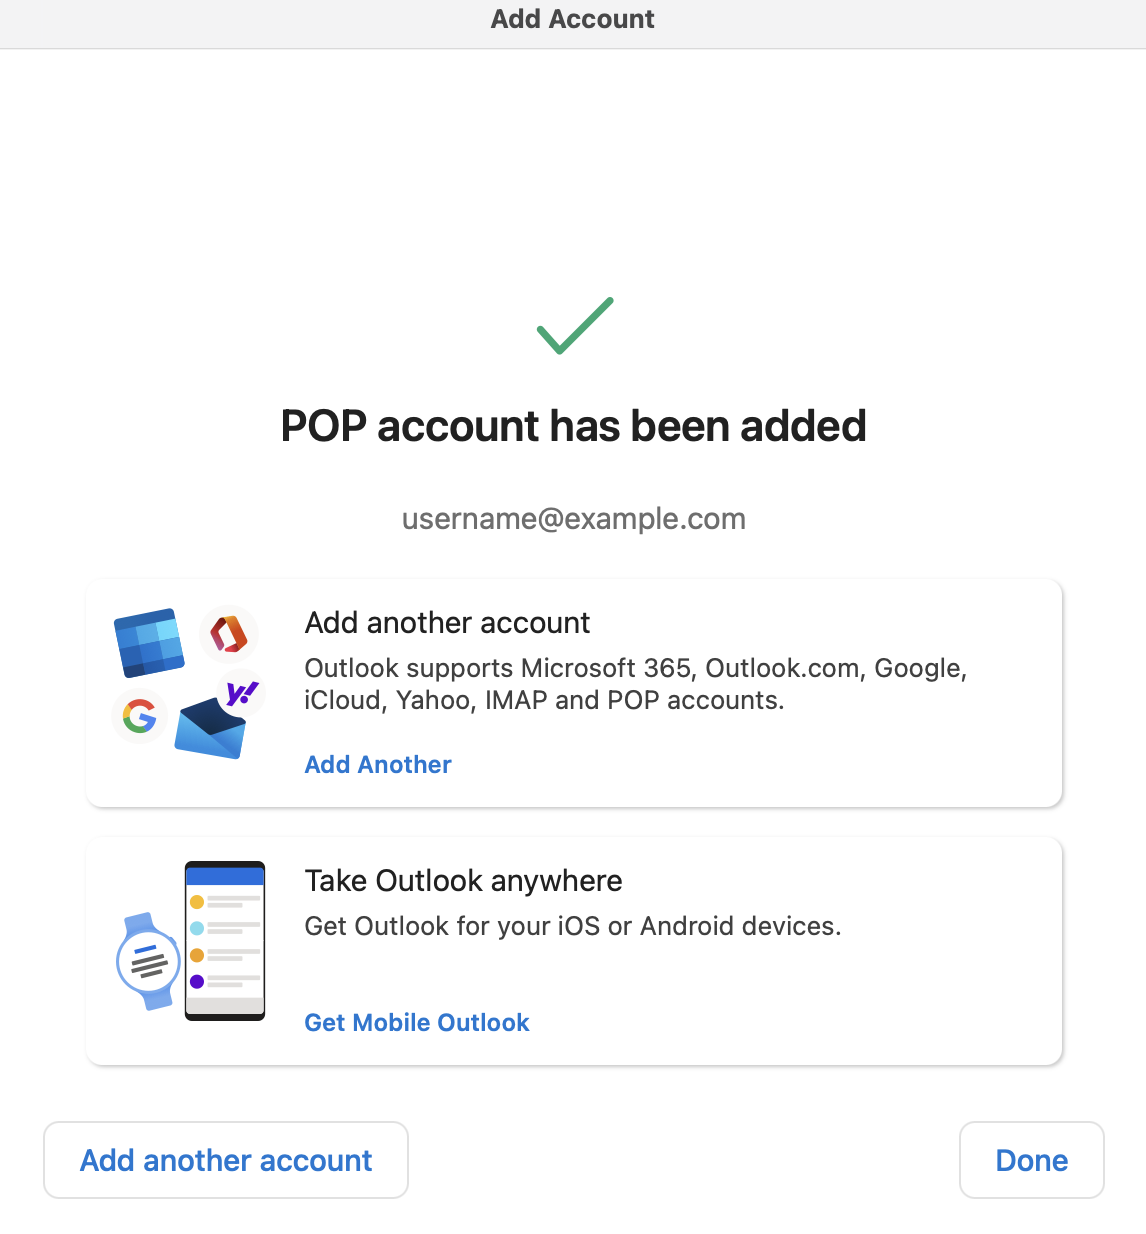
Click Done. Your Outlook application is now configured!
 | You may miss some e-mail messages if you use POP3 to access a mailbox that has SpamAssassin enabled for it. Please read our Possible issues when using POP3 and SpamAssassin article for more information. |