Autoconfig for K-9 Mail (IMAP over SSL)
To configure K-9 Mail for Android for sending and receiving emails using SMTP and IMAP over SSL, follow these steps:
Before You Start:
- Email Address: Replace
username@exampledomain.infowith your actual email address.
1. Add a Mail Account
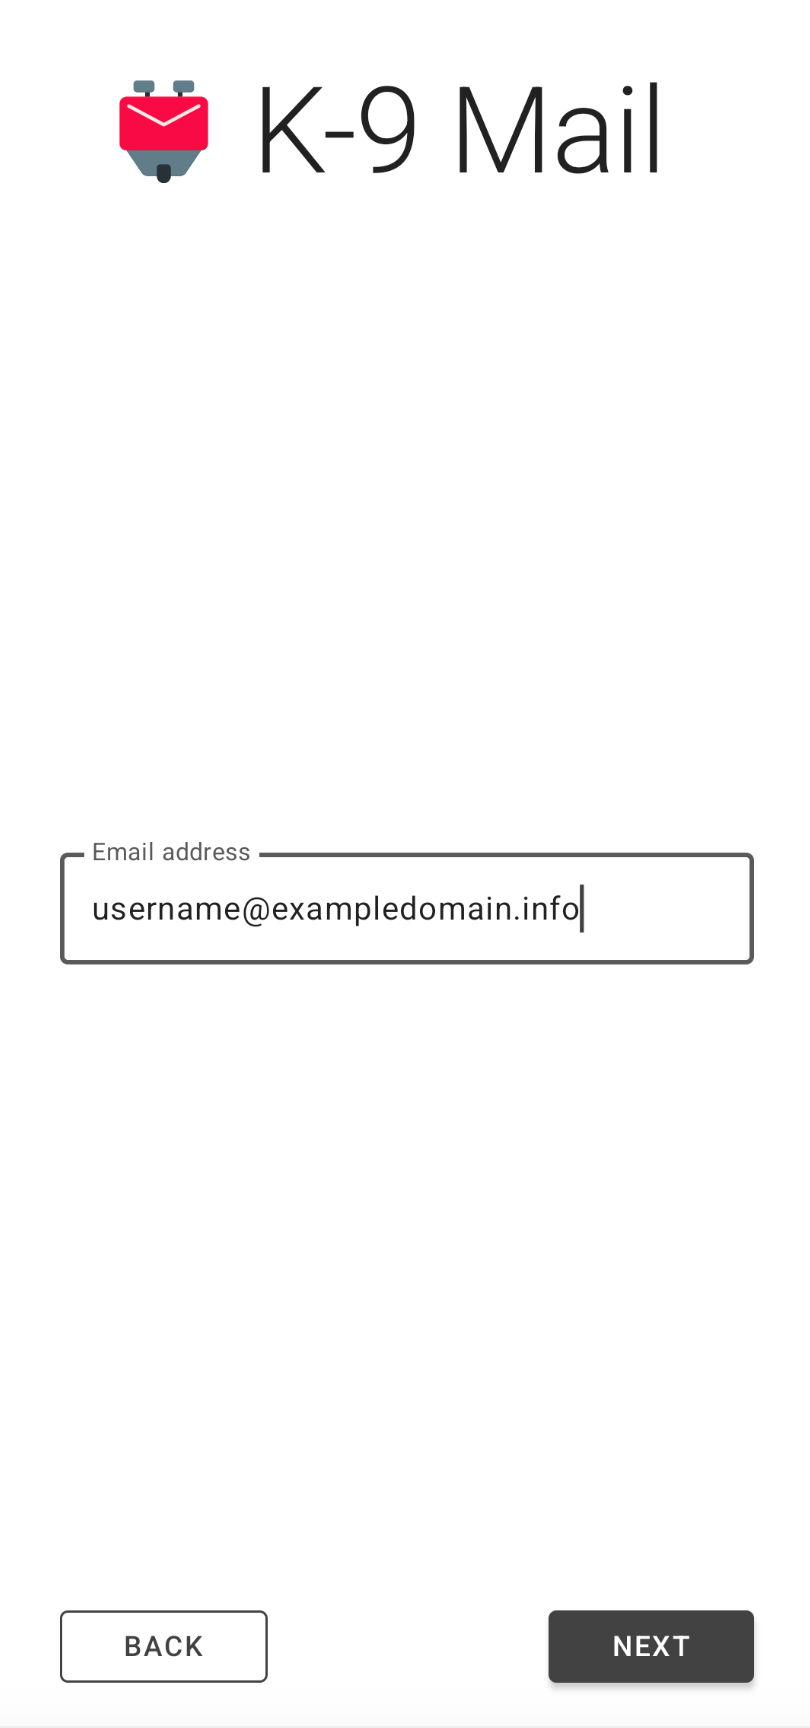
Open K-9 Mail. If you have not set up any accounts yet, tap Start. Otherwise, tap on the hamburger icon in the upper left corner > Settings > Add Account. Type in your email address in the field and tap Next.
2. Configure Server Settings
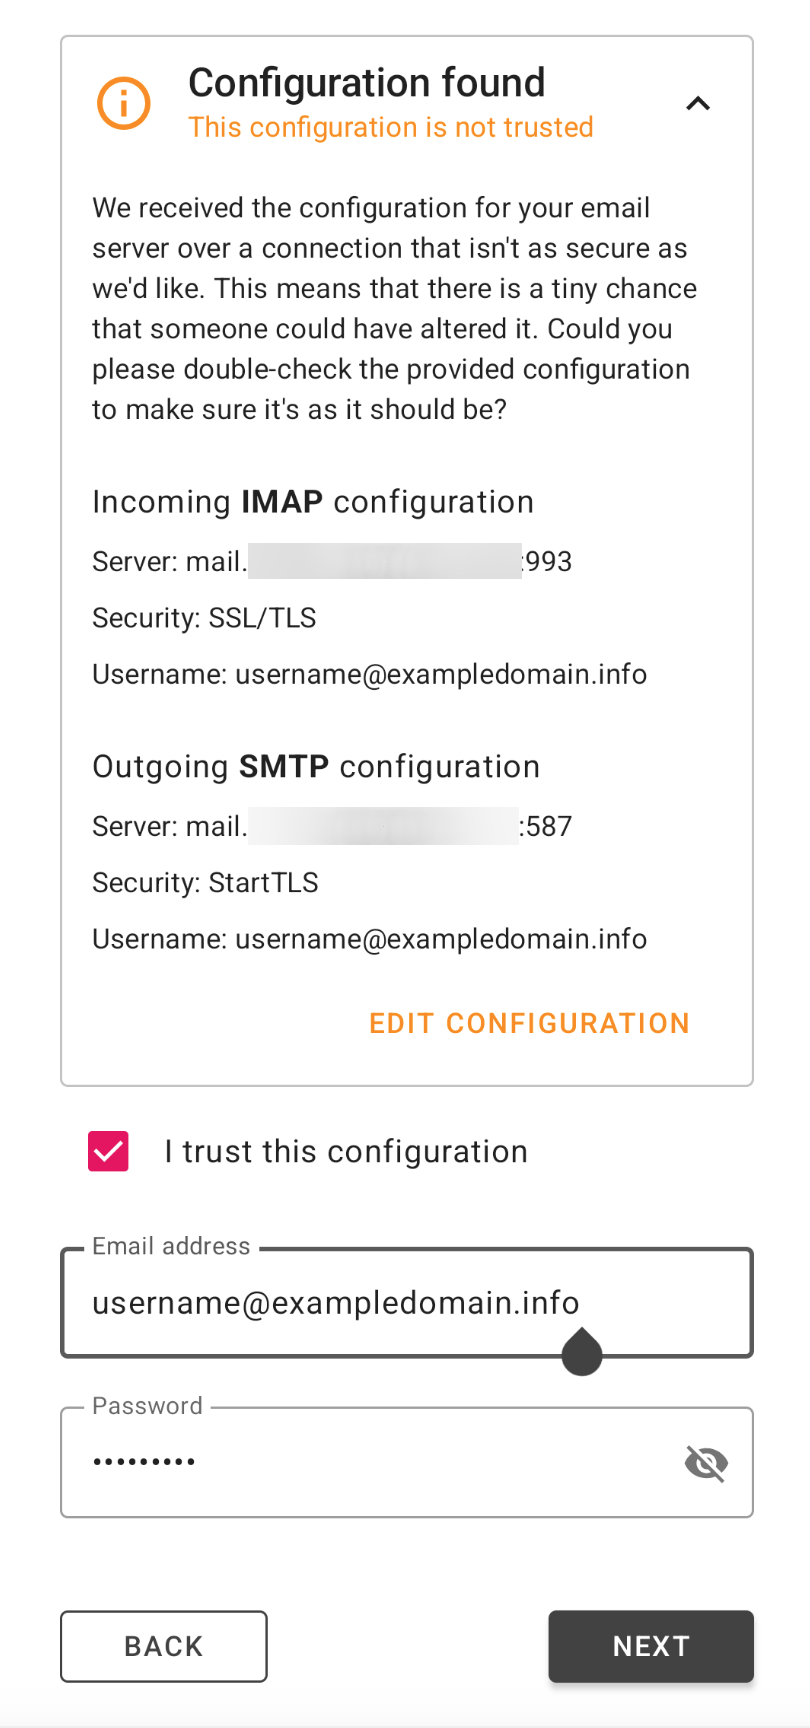
K-9 Mail will automatically detect your server settings. Your email address will be already filled in.
- Scroll down and tick I trust this configuration.
- Type in your password.
- Tap Next.
3. Configure IMAP Folders
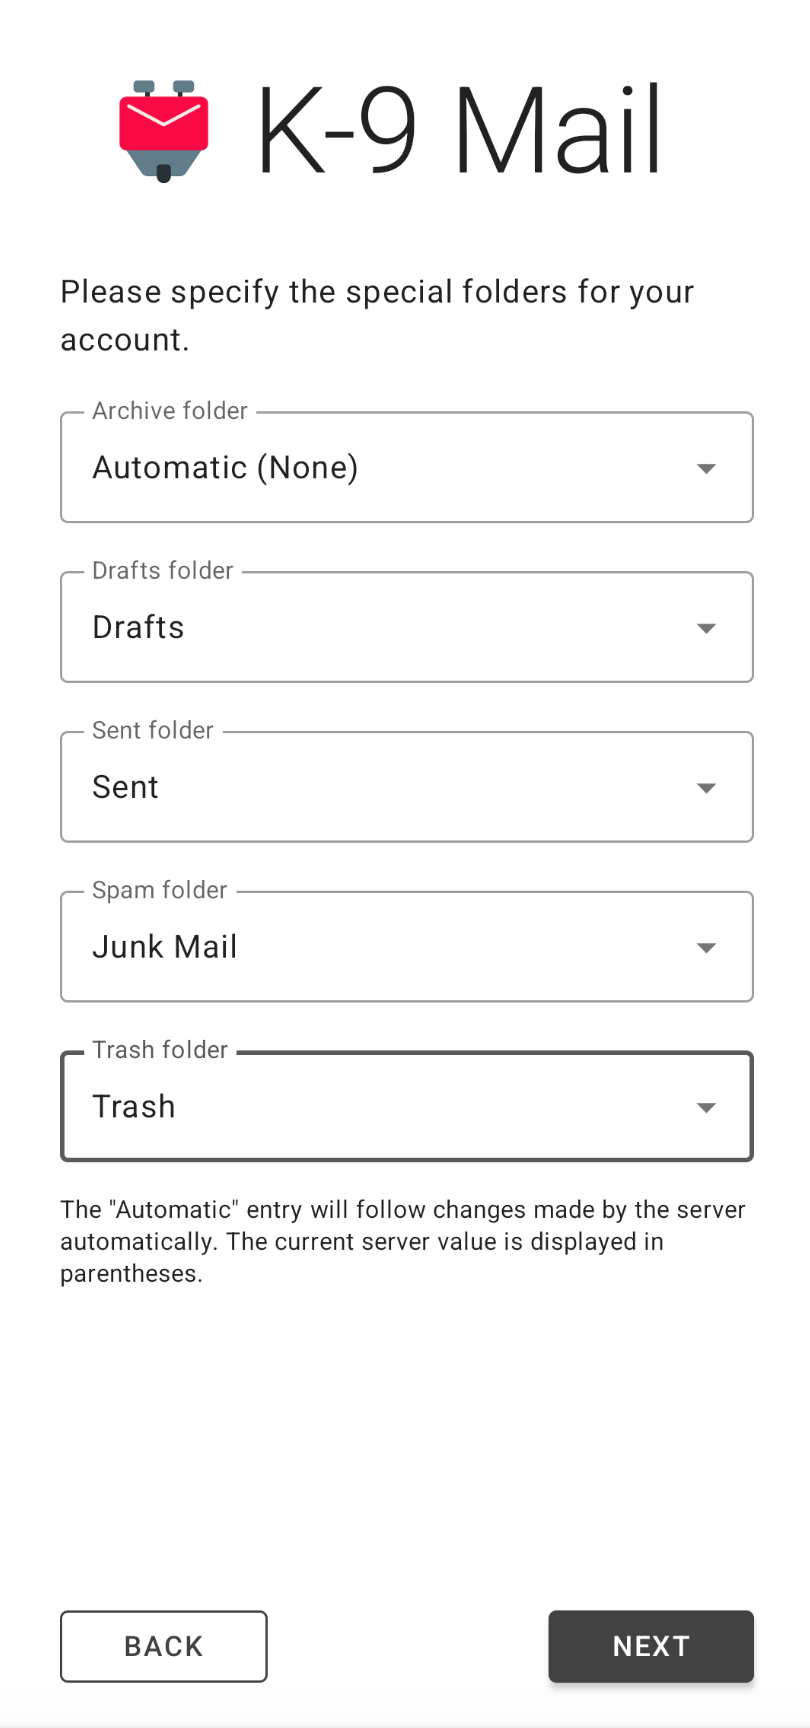
On the next screen, you will be able to configure the special IMAP folders. You should synchronize the Drafts, Sent, Spam, and Trash folders with the corresponding IMAP folders on the server:
4. Configure Display Options
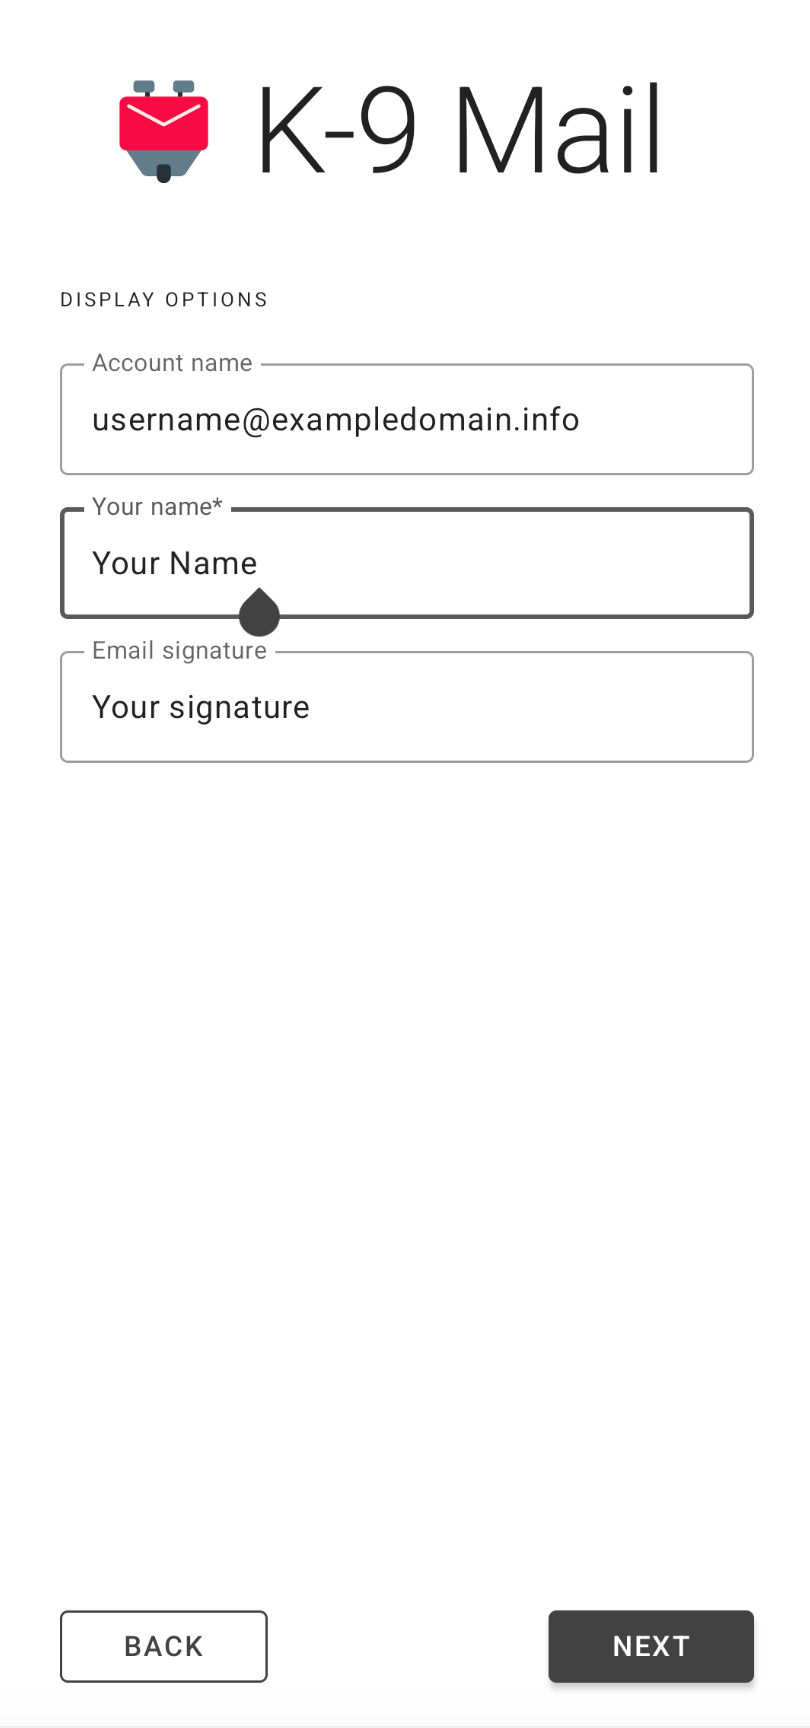
You will be asked to choose your:
- Account Name
- Your name
- Email signature
Fill them in and tap Next.
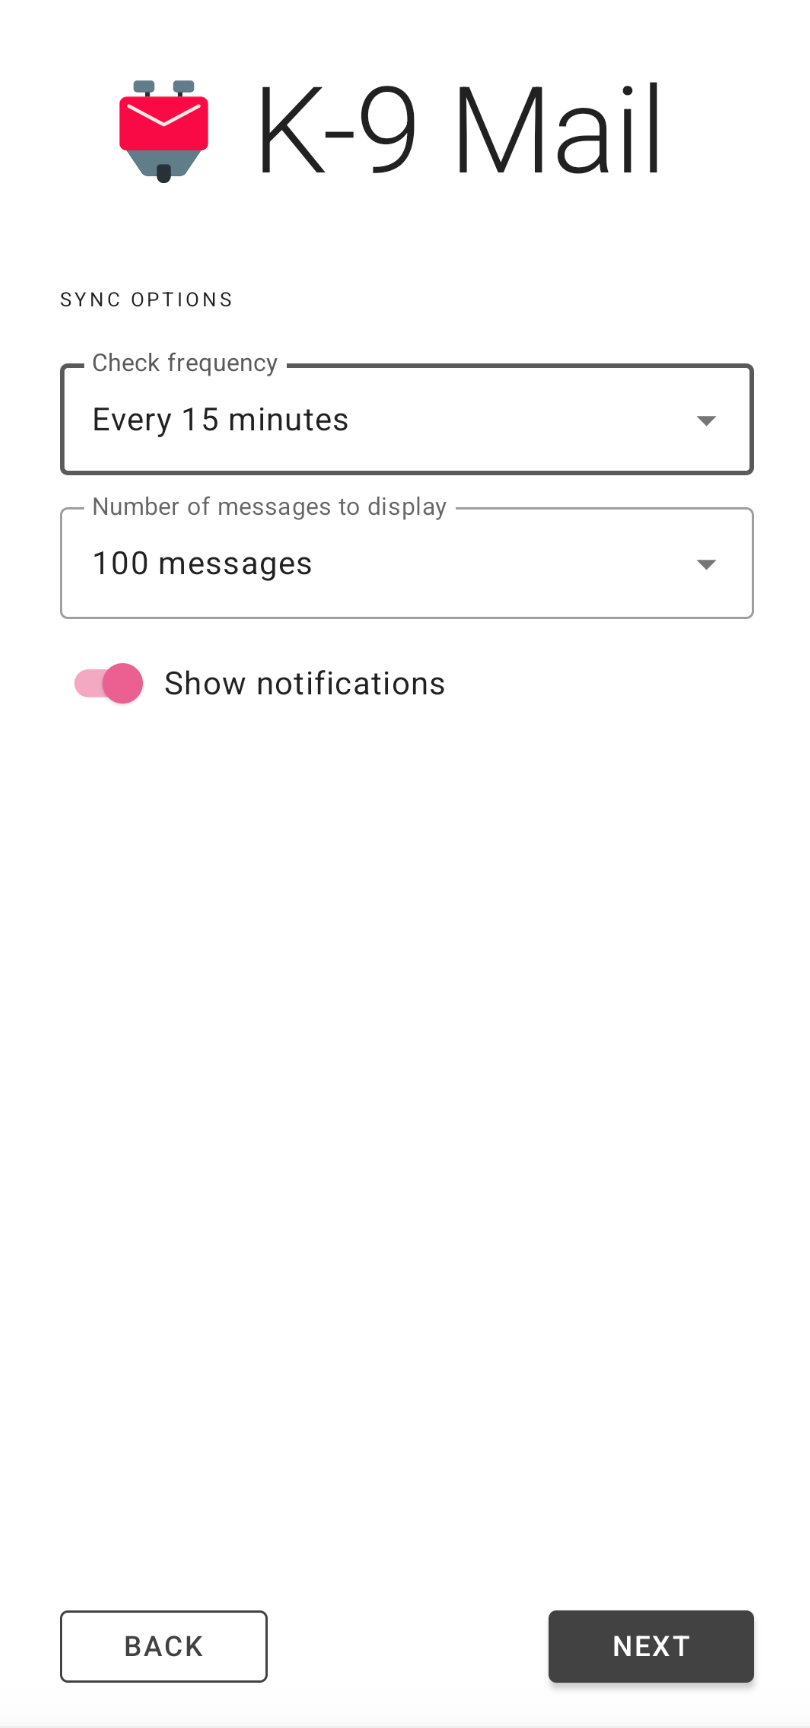
5. Configure Sync Options
The next page will allow you to set the check frequency and the number of messages displayed. Tap Next.
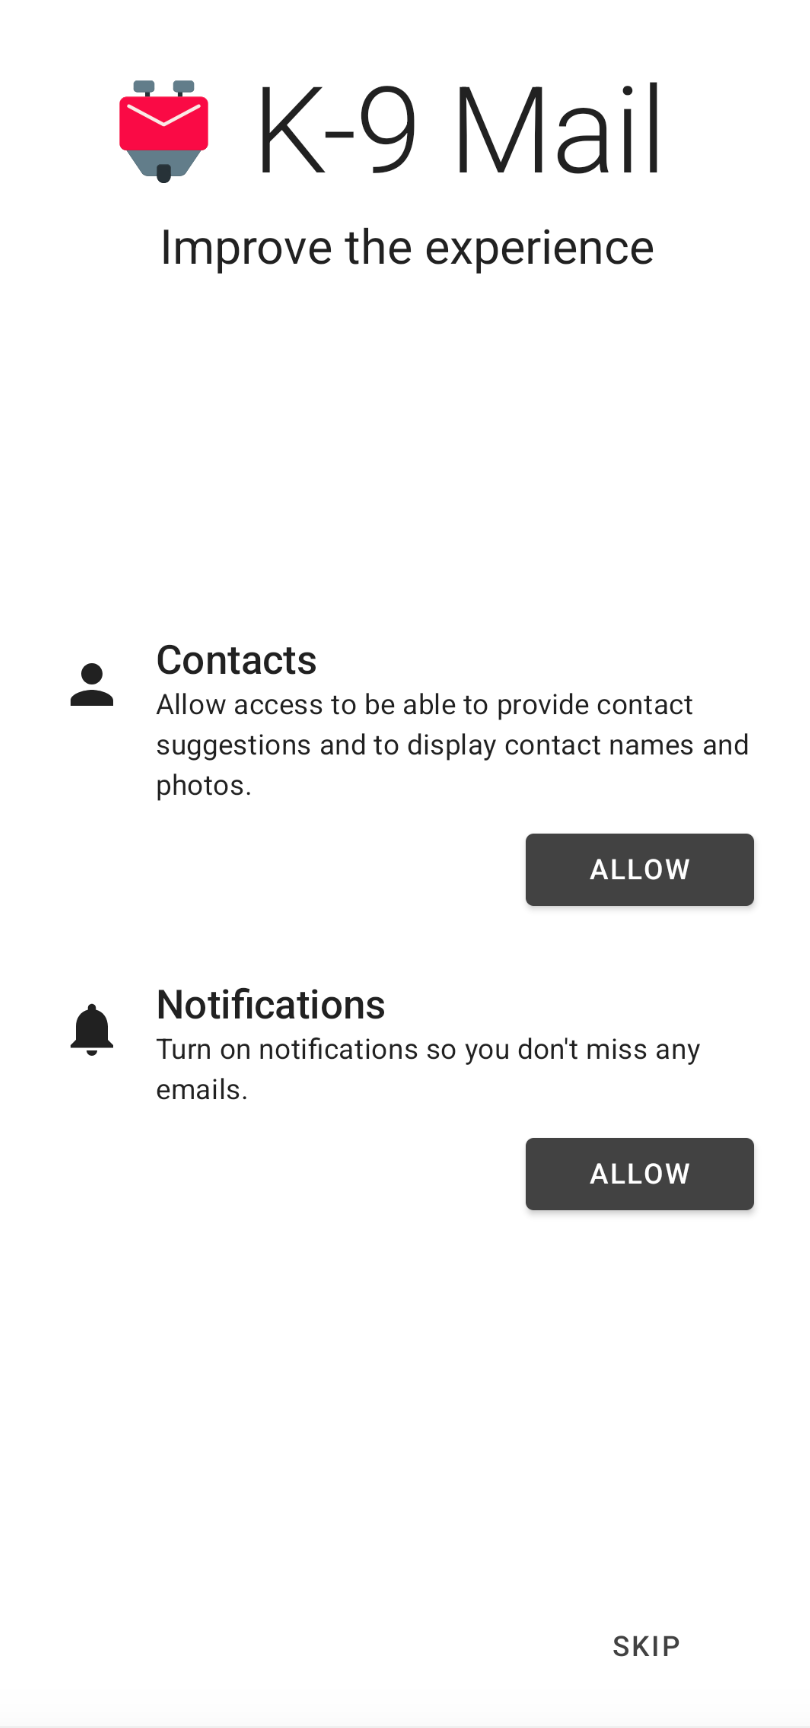
6. Allow Access to Contacts and Notifications
K-9 Mail will ask permissions to access your contacts and send you notifications. You can tap on Allow next to each one or tap Skip.
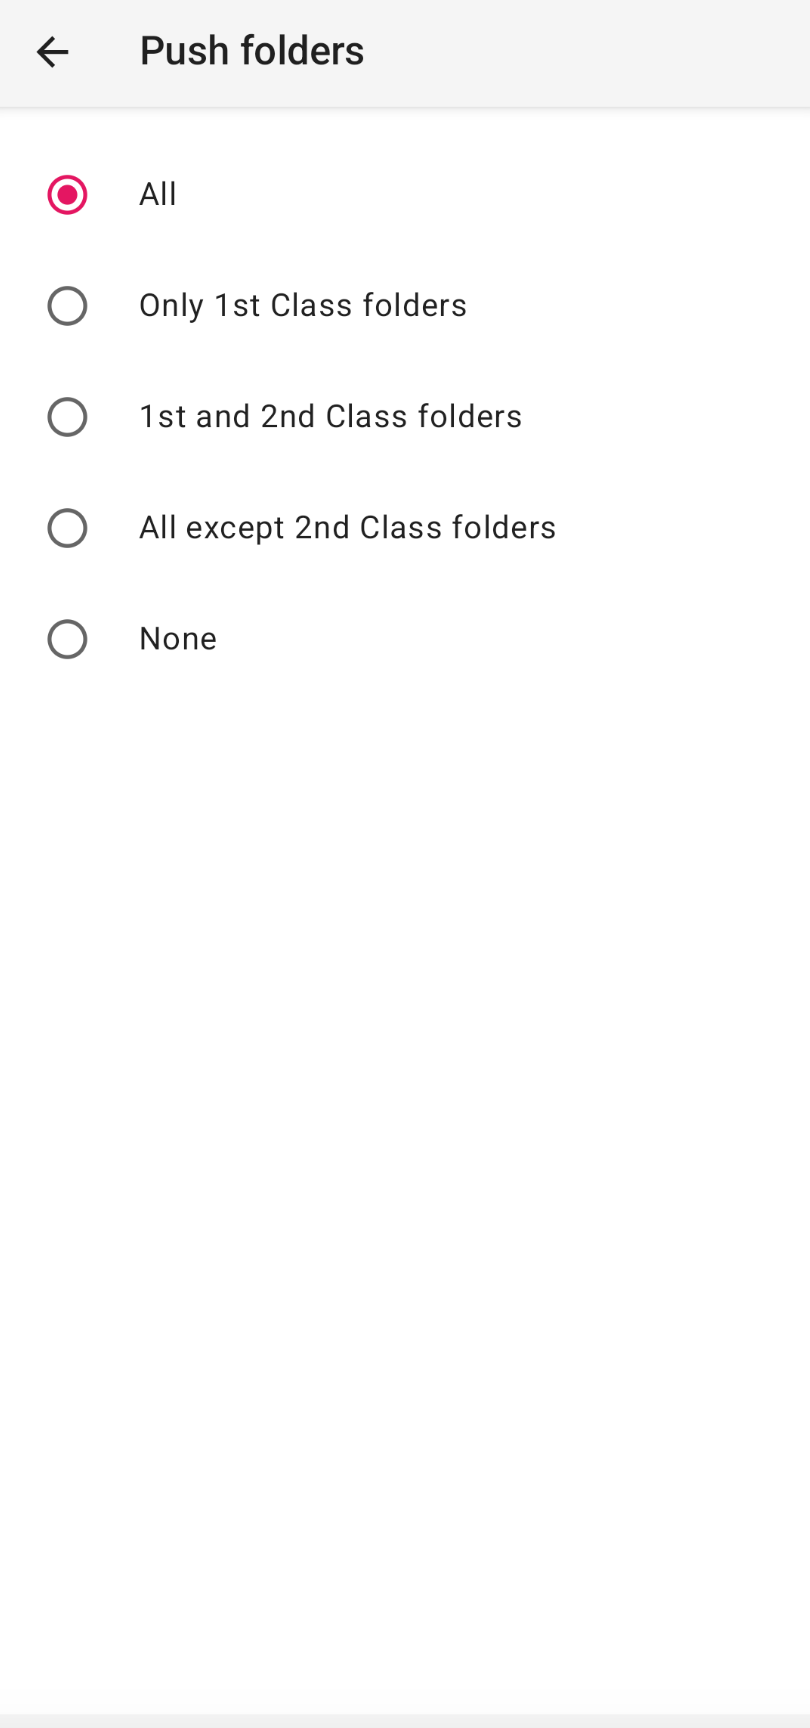
7. Set Up Push Notifications
Tap on the hamburger icon in the upper left corner > Settings > tap on your new account > Fetching Mail. Tap on Push Folders and set it to All.
Your email account is now configured!