Uploading with FTPManager (iPhone & iPad)
Manual configuration
- Go to the App Store on your iOS/iPadOS device and search for the FTPManager app. Install the application on your device and then open it.

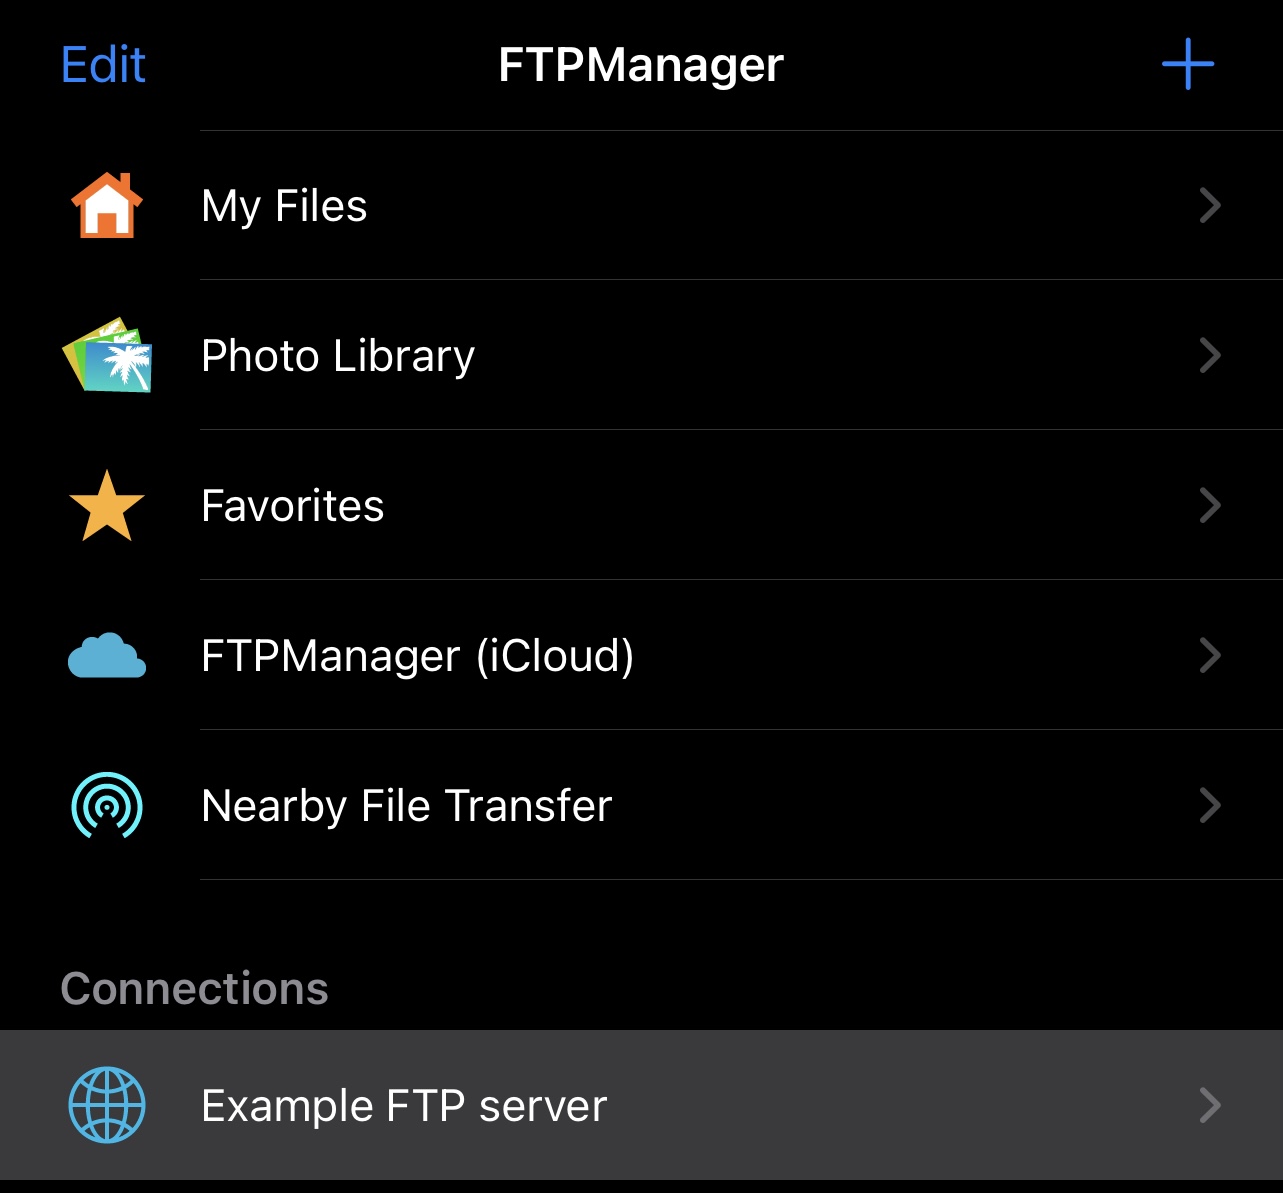
- To add a new FTP connection, tap the plus button in the upper-right corner.
- Tap on FTP (File Transfer Protocol).
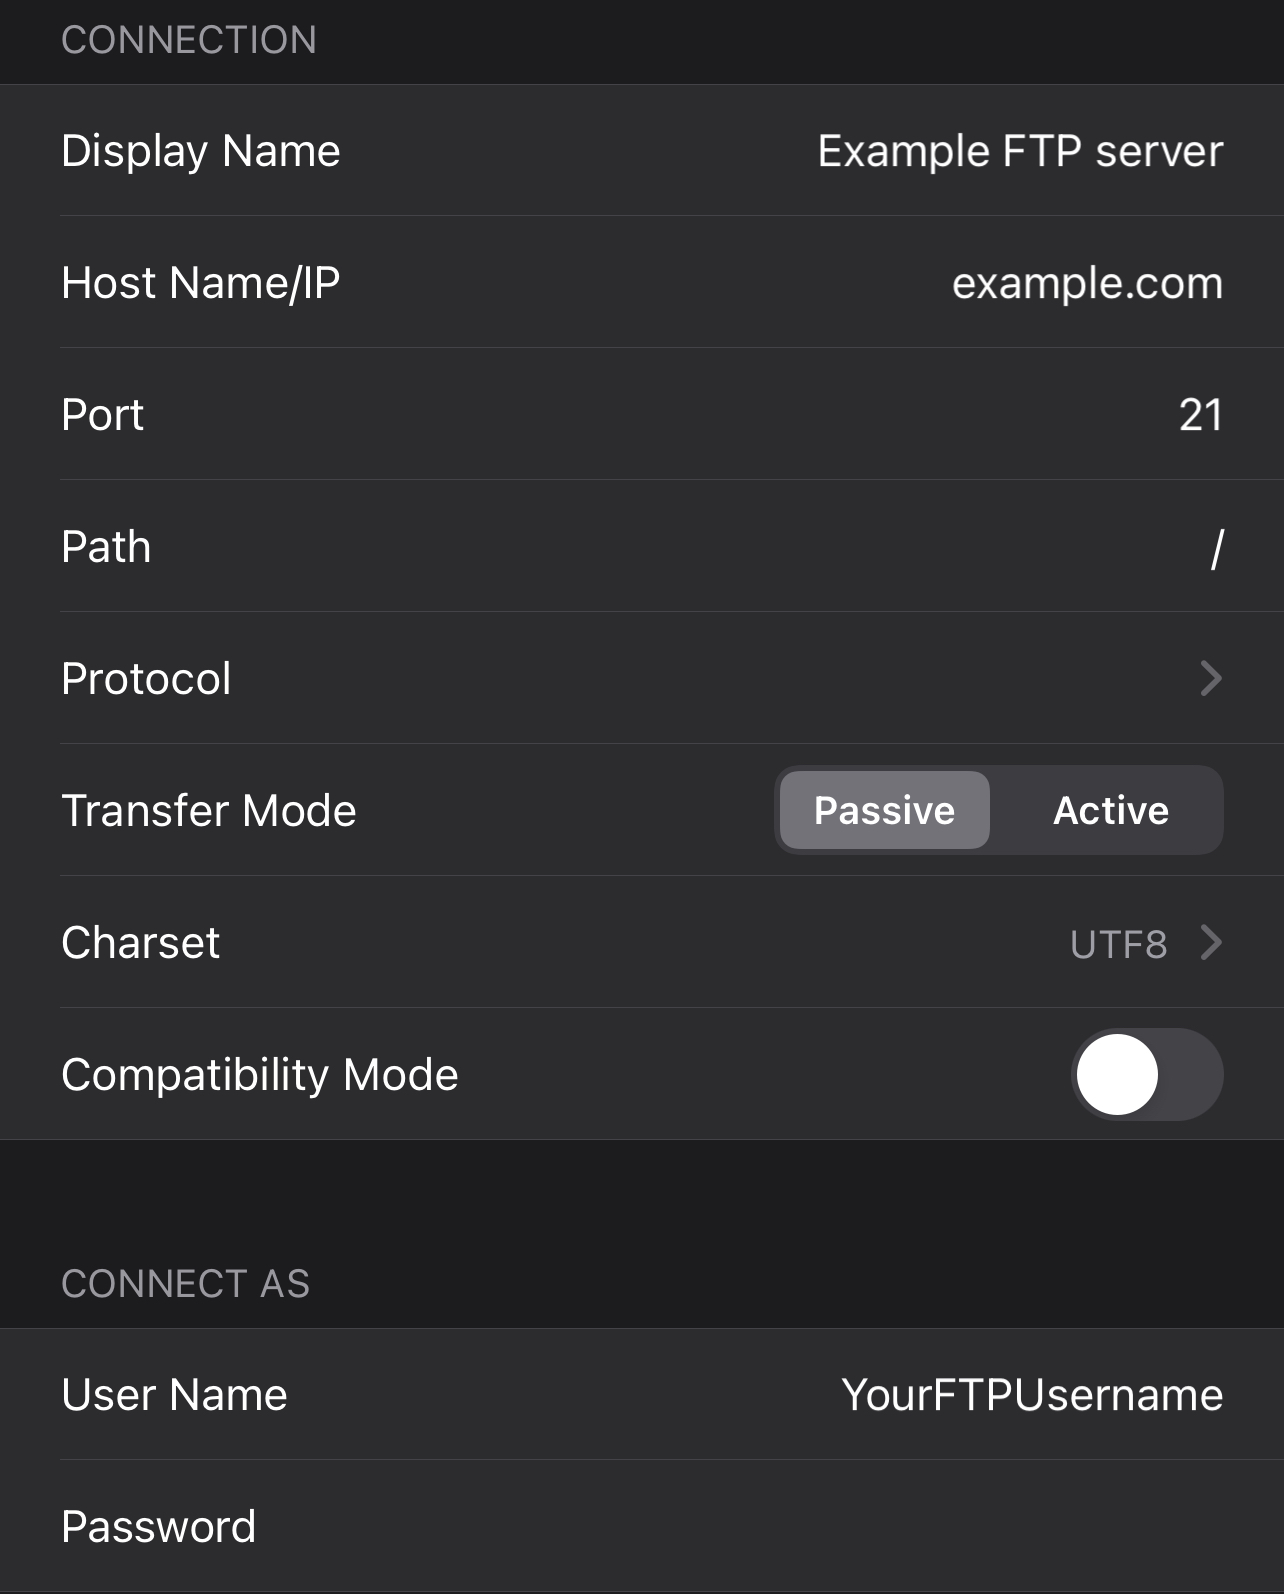
- The Display Name field is optional, but you may wish to enter a value, so you can recognize the connection in the future.
- Enter your domain name in the Host Name/IP field, e.g. example.com.
- Enter 21 in the Port field.
- Enter a forward slash - / - in the Path field.
- Tap on Protocol and then select Require explicit FTP over TLS. Tap Back.
- Choose Passive as Transfer Mode.
- Keep UTF8 selected as Charset.
- Keep the Compatibility Mode option turned off.
- Specify the FTP login details you want to connect with in the User Name and Password fields. Normally, you would want to connect with your main Control Panel username/password pair. In case you want to connect with an FTP subuser you previously created at your Control Panel's FTP Manager section, you need to specify the login details for that particular user.

- Tap Save.
- Tap on the added connection entry to access your account via FTP.

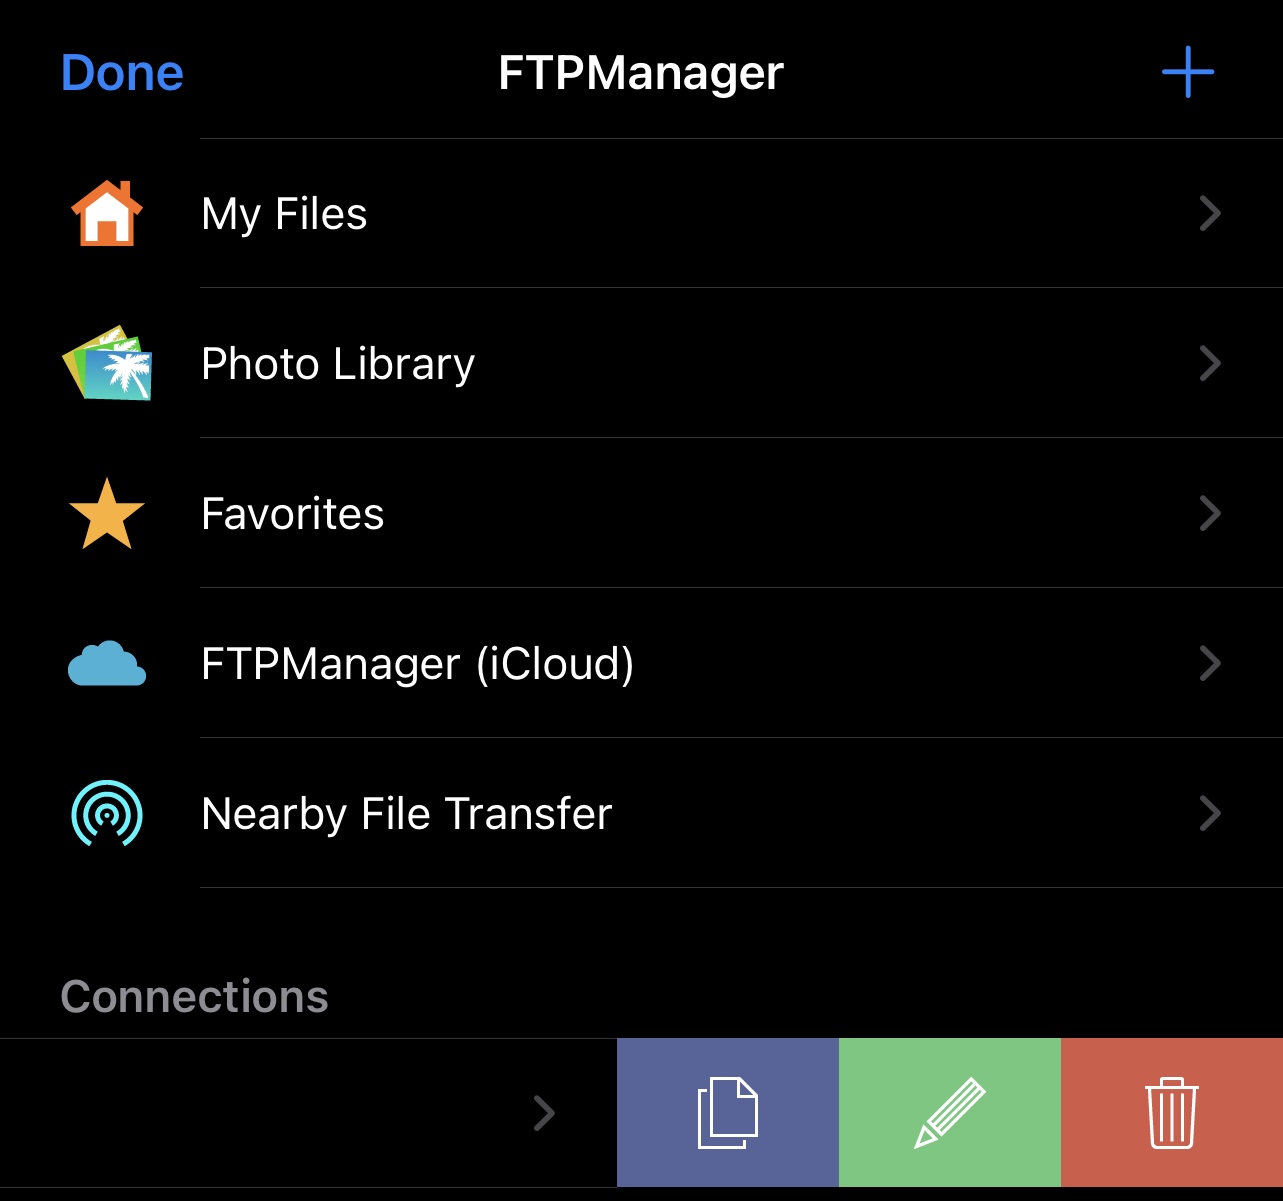
- Once connected, you will see the list of your files/folders on the server. A limitation of the free version of the FTPManager app is that you can only add a single FTP connection. To edit the existing connection, just swipe left on the entry, and then tap the pencil icon.
